Moving and Rebuilding
We recently moved home, and after settling in a bit I’ve started to rebuild my tech lab and see what new opportunities there are for exploration and discovery.
Getting Started
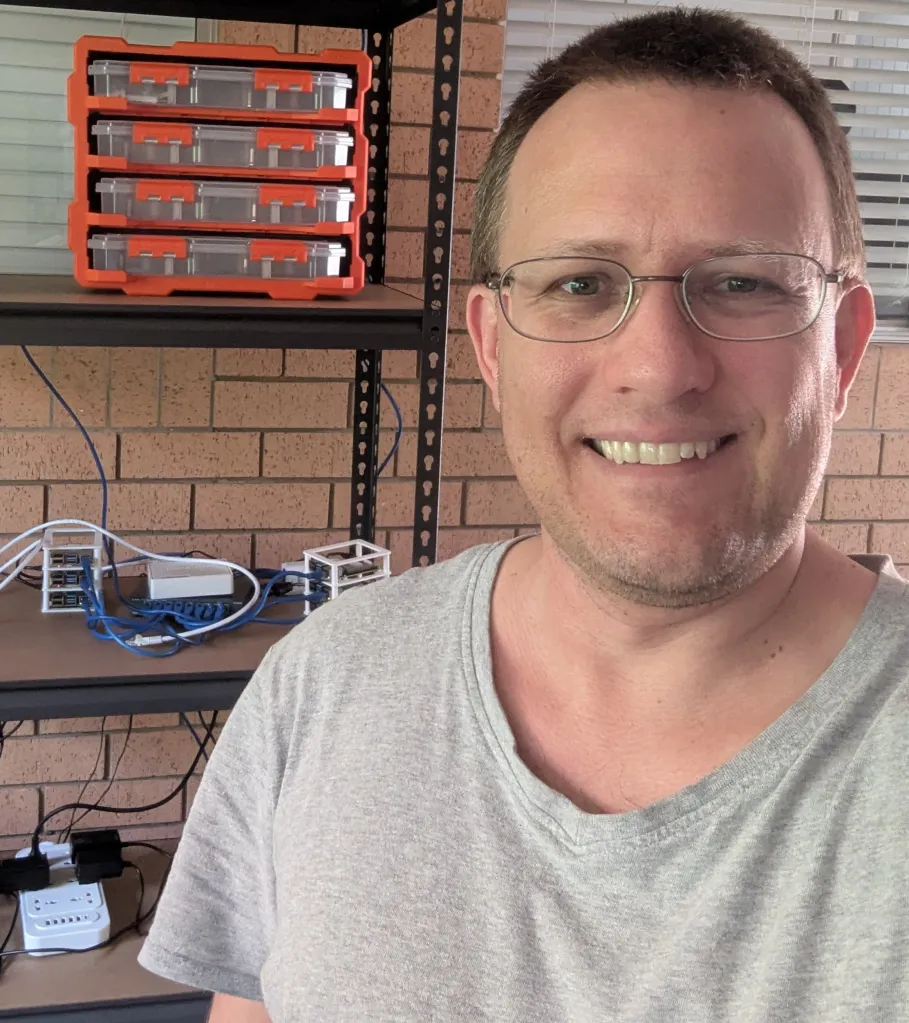
After the move I’ve opted to start with a physical cleanup and rebuild. The Raspberry PI units have accumulated quite a bit of dust, and the casings could do with a refresh.
Thankfully I had managed to save up for a 3d Printer last year, and printing some new cases for the cluster was a fairly straight forward affair thanks to a template I found on Thingiverse: Modular Raspberry Pi Cluster Case by cannikin which was pretty simple to produce and made for a much simpler and cleaner setup.
Getting Connected
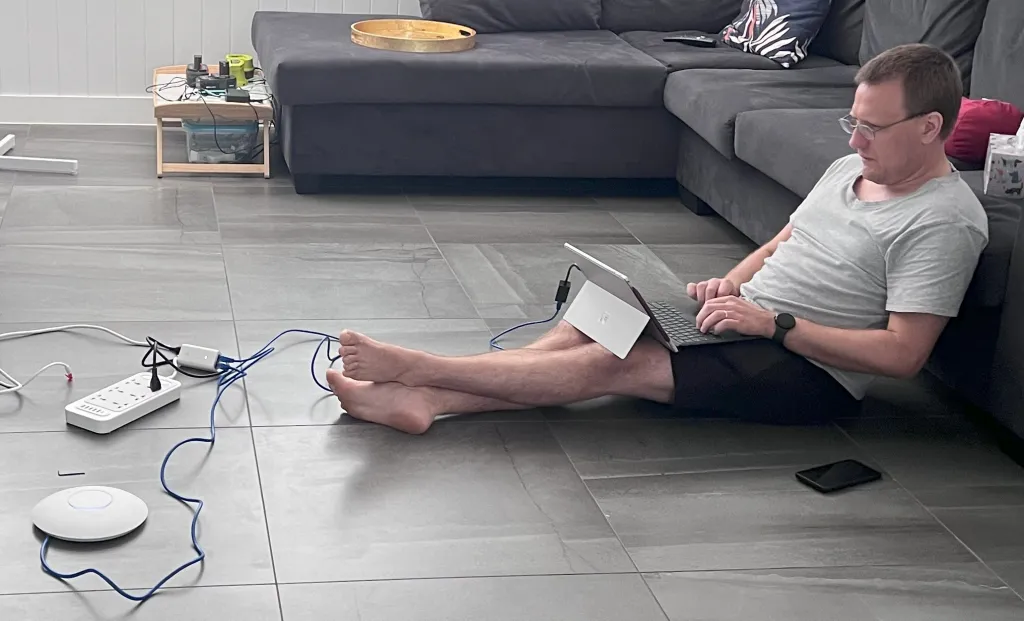
As the cluster is set up in my garage, I needed some way to connect everything to the internet inside. A WiFi Bridge would do the trick.
Unfortunately most of the old equipment I own isn’t built to function as a wireless bridge. I thought I might have a chance with my old ubiquiti Access point, but this proved to be only possible if you’re running the vendor’s mesh network.
Mesh networking would definitely solve this, but I’m on a budget 🙂
Enter OpenWRT – which thankfully had firmware readily available to rebuild my AP into something a bit more custom and flexible.
 Flashing with custom 3rd party firmware is a bit of a nerve wracking affair, but the process was well documented and worked first time.
After a bit of tweaking of network settings I had the cluster and it’s core router back online and was able to connect to the internet from inside the cluster network.
Next steps
Now onto rebuilding the cluster!